How to set monitor gain staging so you stop mixing at 95 dB without noticing
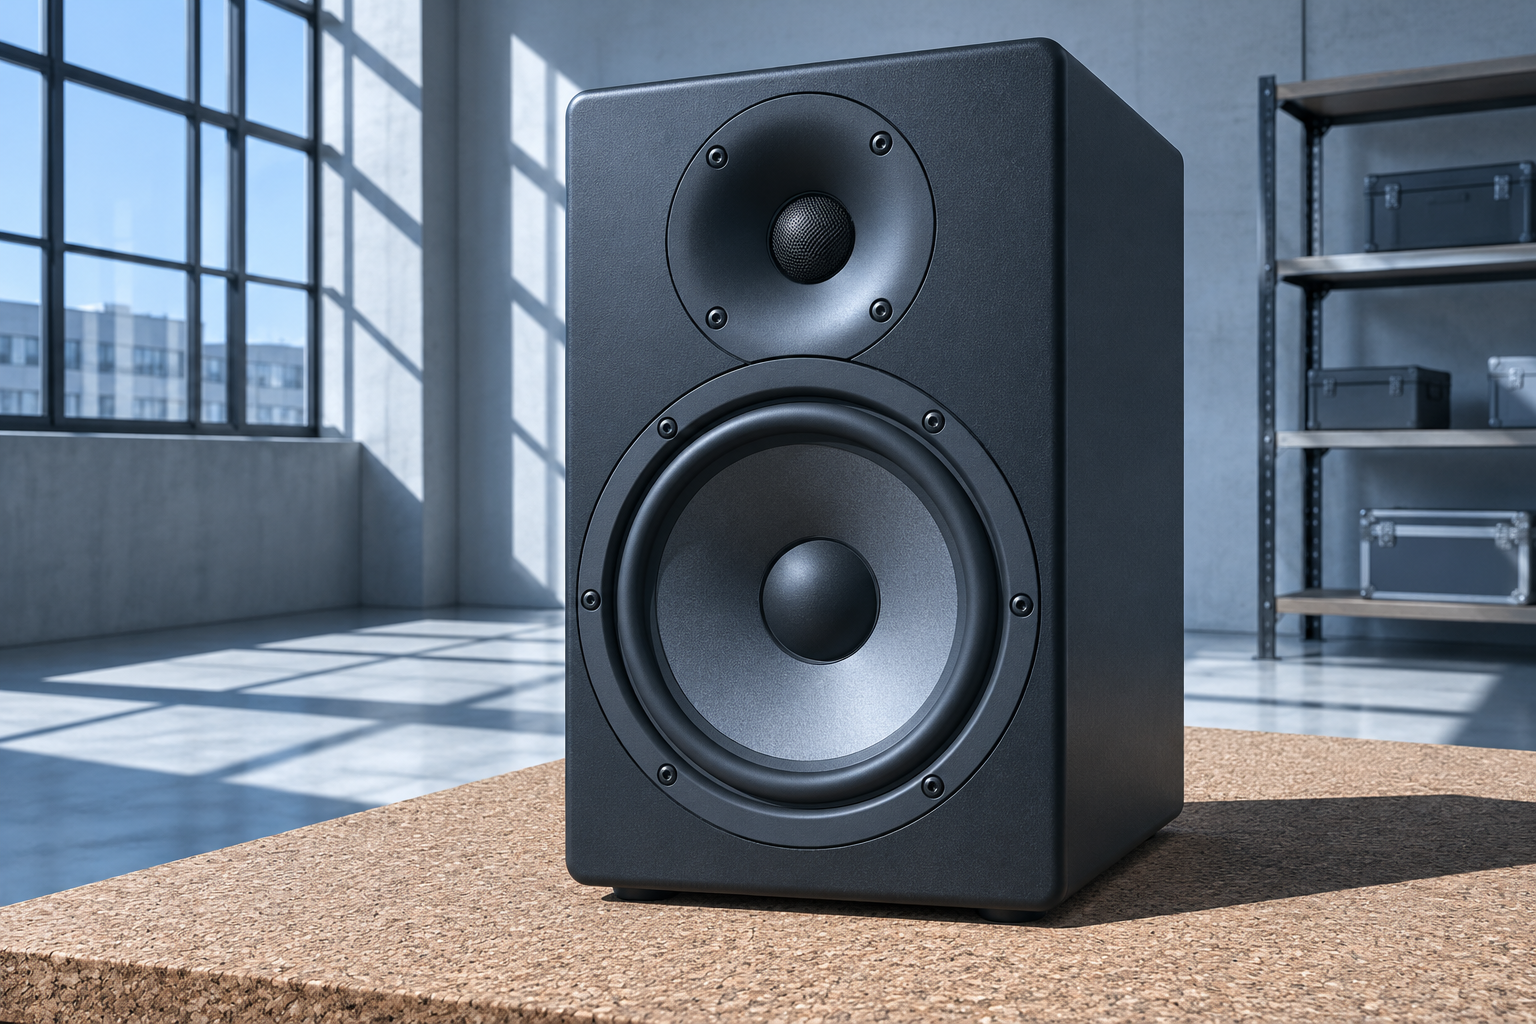
You mixed a whole EP at what you thought was a comfortable level. Then you pulled up a reference track, and yours sounded small, thin, and shy. Not because the mix was bad. Because you’d been sitting at 95 dB for four hours, your ears had folded, and you kept turning things up until the balance only made sense at that volume. The problem wasn’t your taste. It was the gain staging between your interface, your monitors, and the room.
This is the part nobody teaches. Plugin demos, mastering chain videos, all of it assumes your monitoring is calibrated. If it isn’t, every decision you make downstream is built on a lie.
Why fixed monitor-level gain staging actually matters
Two things blow up when your monitoring level drifts. The first is your ear’s frequency response. Push SPL past the mid-80s dB and the inner ear starts compressing; you begin losing sensitivity in the upper mids first, so you compensate by pushing those frequencies in the mix. The mix leaves your room sounding forward and harsh on someone else’s system.
The second is louder-is-better bias. Higher SPL triggers a well-documented perceptual boost in low and high frequency perception. You hear a mix at 95 dB and it flat-out sounds better than the same mix at 75 dB. Your brain then invents reasons why the 95 dB version is “right,” and you tune your plugins to it.
The fix is simple in concept: put a numbered, repeatable gain value between your DAW output and your monitors, set it once, and don’t touch it for the rest of the session. The execution is where most rooms fall apart.
The setup, top to bottom
Step 1: Zero the DAW and set an attenuation point
Pull your master fader down far enough that your kick-and-bass content peaks somewhere around -18 to -20 dBFS. That gives you headroom for the mastering chain later. If you’re stacking a clipper and limiter on the master bus, you want a clean signal arriving there, not a hot one that’s already pinned.
This is where a lot of plug-in chain guidance circles back to the same point: put a clean, colorless EQ first, trim problem low end and anything below about 15 Hz, then let the amplification stages do their job. If your mix arrives at the master at -6 dBFS and you’re boosting it further, you’re fighting yourself.
The practical move: put a trim or utility plug-in as the first insert on the master bus, set it to -6 dB or whatever lands the peak at -18 dBFS, and leave it. It’s a fixed reference. Everything downstream stays predictable.
Step 2: Calibrate the physical room
You need a real number at the listening position, not a guess from the volume knob. Two options:
- Cheap and crude: a phone SPL meter app (C-weighted, slow response) and pink noise at -20 dBFS RMS from the DAW. Set your monitor controller until you read 75-80 dB SPL at the seat. That’s your working level for tracking, dialogue editing, and any long session.
- Proper: a calibrated measurement mic and an RTA. This is the same rig you already use for room acoustics sweeps, and the pink noise source doubles for both jobs. Use the same measurement-position logic you’d use for frequency sweeps: single-seat when calibrating, average-of-five when you’re verifying the room treatment isn’t fooling you.
Write the number down. Stick a piece of tape on the monitor controller at that position. When you catch yourself reaching for it three hours in, you’ll see the tape and put your hand back down.
Step 3: The two-level rule
Here’s the discipline that separates mixes that translate from mixes that only sound right in the room. Run two fixed monitor levels, not one:
- Working level: around 78-82 dB SPL. Long-session safe. Use for arrangement, editing, plugin tweaking.
- Reference level: around 85-88 dB SPL. Song-length checks only. 30 to 60 seconds. Then come back down.
Yes, some engineers mix at 85 dB continuously and swear by it. That works if the room is treated, the calibration is real, and the sessions are short. If you’re three hours into a session at 90-plus, you’re not mixing; you’re guessing loudly.
The gain-staging layer most people skip
Between your DAW output fader and your interface output there’s usually a plug-in chain and a monitor controller. Each stage has its own gain. If you don’t document each one, your “calibrated” level means nothing after a weekend.
Build a reference session. Save it as a template. In that template:
- Master bus trim set to the attenuation value you decided in Step 1.
- Master fader at unity, not somewhere you nudged it.
- Monitor controller at the taped position.
- Interface output gain at a fixed setting (mark it if the knob has no detents).
- A pink noise generator rendered to a file at -20 dBFS RMS, ready to re-check the whole chain in thirty seconds.
Then whenever something sounds off, before you touch a single EQ band, play that reference file and re-measure. In most rooms I walk into, what gets blamed on the mix is really gain staging that’s crept out of whack.
What this actually costs you
Two things. Time, obviously. The setup itself takes an hour if you’ve got the measurement gear, an afternoon if you don’t and you’re learning the RTA off YouTube. Fine.
The bigger cost is psychological. Fixed monitoring means you can’t cheat. You can’t make a boring arrangement exciting with sheer loudness. You can’t hide a hollow low-mid by turning the whole thing up. The mix either works at 78 dB or it doesn’t, and you find out immediately.
That’s the point. The mixes that survive the reference check and the car test and the phone speaker are the mixes that got worked on at a stable, calibrated monitoring level where you could actually hear the balance. The mixes that died were mostly mixed at whatever volume happened to feel right that night.
Calibrate once. Tape the knob. Save the template. Mix at a volume your ears can survive.