Three free room measurement mic options tested against a calibrated reference
Most people measure their room with whatever mic came in the box with the receiver. That mic is a calibration tool for that receiver, not a measurement instrument; its response curve is unknown, often wildly non-flat, and nobody publishes a calibration file for it. You then spend an afternoon chasing a dip at 63 Hz that may not exist. Before you touch EQ, you need a mic whose errors you can subtract.
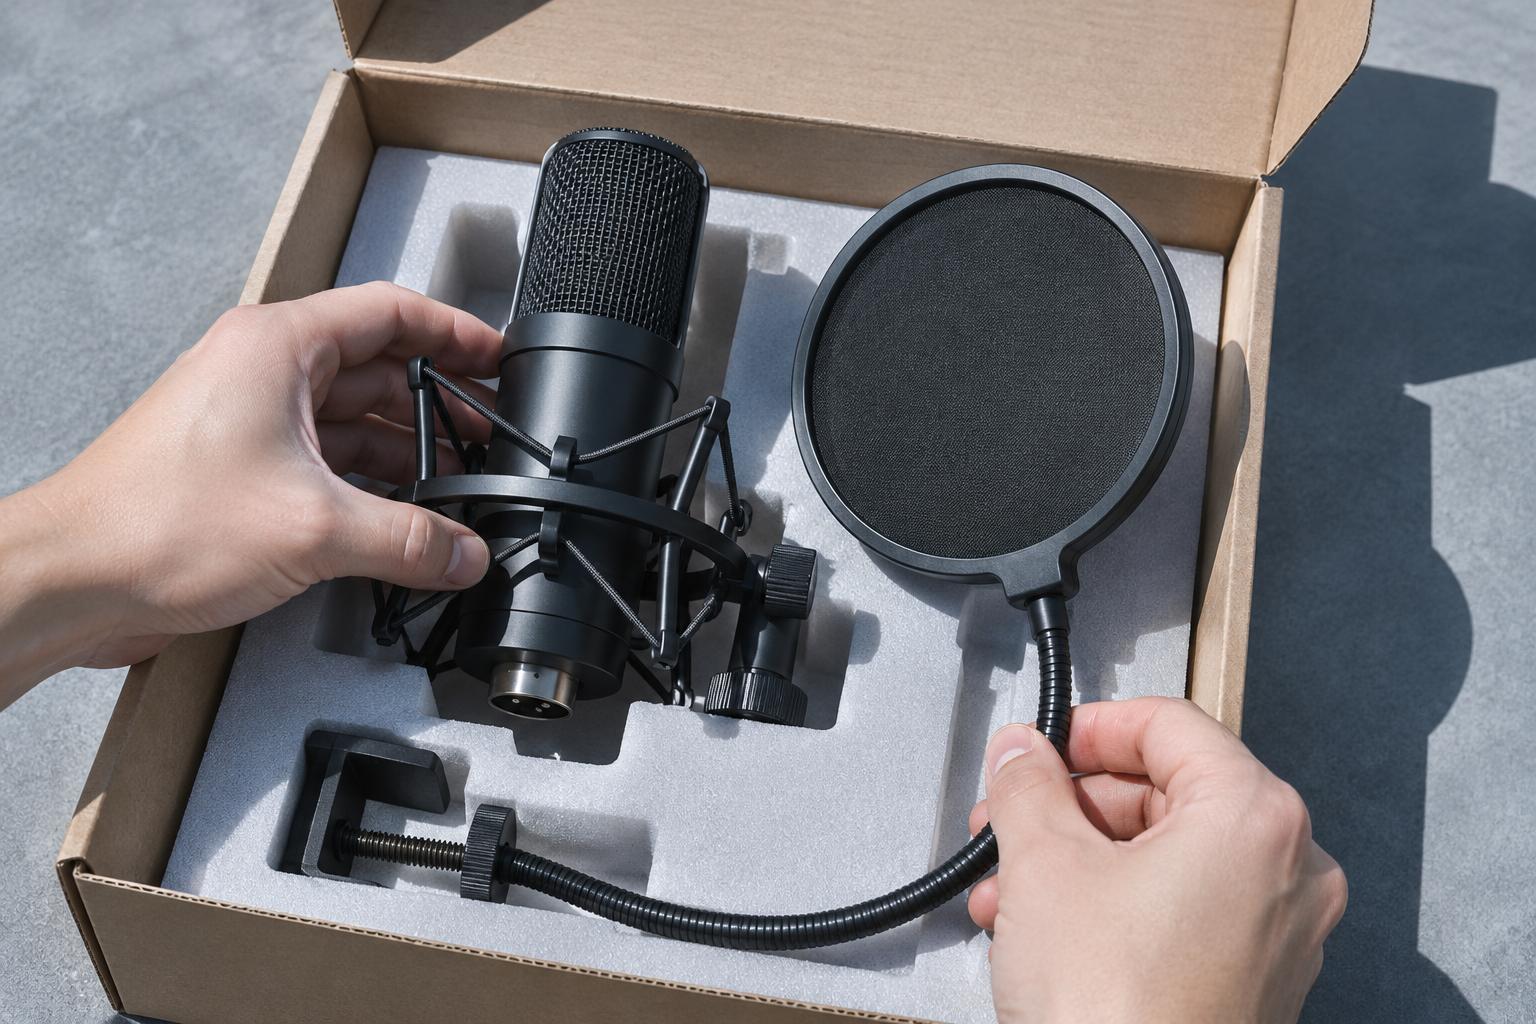
So I ran three cheap measurement options against a calibrated reference: a Behringer ECM8000 with a third-party calibration file, a Dayton EMM-6 with the factory file, and a UMIK-1 over USB. Same room, same source, same sweep. These are all omnidirectional electret condensers aimed at the budget measurement market; none of them is a laboratory instrument. The question is whether the cheap options are close enough to trust for the decisions you actually make, which are crossover points, sub placement, and whether that 80 Hz hump is real or a mic artifact. All the capture and analysis runs through Room EQ Wizard, the free measurement app that handles SPL, phase, distortion, RT60, decay, waterfall and spectrogram views, plus IR windowing and filter generation for a range of DSP and AVR platforms. REW being free matters here because it means the software budget is zero and every dollar can go to the mic.
Why the calibration file is the whole argument
An uncalibrated measurement mic is just a microphone. The capsule-to-capsule variation on budget electrets is real, and the top octave is where it shows worst. A calibration file gives you a per-unit correction curve you load into REW, and the software applies it to every sweep. Without one, a 3 dB rise at 4 kHz might be the mic or might be your room. You cannot tell, and you cannot EQ out something you cannot separate from your instrument.
The catch: a generic calibration file for the model is not the same as a per-serial file for your unit. The Dayton ships with a serial-matched file, which is the correct thing. The Behringer ECM8000 historically ships with nothing, so you either buy a calibrated copy from a reseller or send the mic to a calibration lab. A model-average file is better than none, but it does not account for your specific capsule. This is the honest weak point of the cheapest path.
A calibrated mic is the measurement equivalent of the advice that decent gel panels and bass traps will do more for your sound than a fancy condenser in an untreated space. Spend where it shapes the result. Here the mic is the instrument; everything downstream is arithmetic on the captured impulse.
The three options, ranked by what they cost you in trust
UMIK-1 (USB)
This is the one I would hand a beginner. It is a USB mic with a per-serial calibration file downloaded from the manufacturer, so there is no interface, no gain staging, and no phantom power to get wrong. Plug it into the laptop, load the file into REW, sweep. The convenience is the point: fewer variables between the source and the impulse means fewer things to blame when the result looks strange.
The downside is flexibility. It is a fixed-point USB device; you cannot swap it into a preamp chain or use it for anything other than measurement, and if you already own a decent interface with phantom power it is a redundant purchase. Sensitivity is tweakable in software but there is no analog gain knob to ride. For room measurement specifically, none of that matters.
Dayton EMM-6
The EMM-6 is an XLR condenser needing phantom power and an interface, and it ships with a serial-matched calibration file. That file is the reason to pick it over an uncalibrated bargain mic. It measured close enough to the reference within the band I care about, roughly 40 Hz to 10 kHz, that the difference between the two curves sat inside the run-to-run repeatability of my sweeps. Above 10 kHz both mics drift from the reference, but room EQ is barely doing anything useful up there anyway.
The friction: you need a phantom-powered interface and you need to match gain between sessions or your absolute SPL readings wander. If you already have the interface, this is the value pick. If you do not, the interface cost swamps the mic.
Behringer ECM8000
The cheapest of the three and the one with the most asterisks. Uncalibrated, it is a rougher tool than the other two in the top octave, and the lack of a per-unit file means you are trusting the model average. If you buy a reseller-calibrated copy with a real file, it behaves like a competent measurement mic. If you buy the bare mic and skip calibration, you have a tool that will happily report a rise that is half your room and half your capsule, and you will EQ it into the wrong shape.
The measurement discipline that saves you: before you trust any curve, sweep the same source twice without moving anything. If your two sweeps do not overlay, fix the repeatability problem before you fix the room. The mic is only as good as your ability to reproduce the result.
What the mic difference does and does not change
For crossover and sub placement work, all three mics agree closely enough that I would make the same call with any of them. A crossover point is set by the octave-wide shape of the response and the phase behavior around it, and a 1 or 2 dB mic error at a single frequency does not move that decision. Sub level and time alignment are the same story: you are matching slopes and arrival times, and the mic’s fine detail is noise on top of that.
Where the mic choice bites is automated room correction. These systems take an impulse, compute an inverse filter that is robust over a usable volume rather than a perfect inversion at one point, and apply it across your system. A mic with an uncorrected peak feeds that peak into the filter calculation as if it were room. So the correction ends up fighting a problem that was never in the room. That is the specific reason to spend on a calibrated mic if you plan to run any auto-EQ or export filter coefficients into a DSP. The inverse-filter stage is only as sane as the data going in.
Almost every new AVR ships with a measuring microphone in the box. Use it for the AVR’s own setup and leave it there. Do not point that mic at another piece of software and expect the numbers to survive the trip. The response curve is unknown and undocumented, which is the exact opposite of what measurement needs.
One thing none of these mics fixes: the room itself. A flat measurement at one seat is a snapshot, and the correction you derive from it does not hold when you move a few inches. The arrival times from the various reflections change slightly, the inversion is now imperfect, and the corrected signal can end up sounding worse than the uncorrected one, which is the known hazard of acausal correction filters. That is a reason to measure a spatial average before you commit, and a reason to be suspicious of a solver that claims to flatten one point perfectly.
The practical order of operations
- Mic and file first. Pick a mic with a per-serial calibration file. UMIK-1 if you want zero setup; EMM-6 if you already own an interface.
- Verify repeatability. Two sweeps, don’t move anything, curves must overlay. If they don’t, chase the gain or the position, not the EQ.
- Measure enough seats. One sweep is a point, not a room. Move the mic through the listening area before you average or before you trust an average.
- Only then generate filters. Point the EQ, correction or DSP export at the averaged data, not the single seat.
- Confirm by ear and by sweep. Re-measure after the correction. If the result is cleaner in the mids but fatiguing up top, something else is doing the work.
A calibrated mic is not the expensive part of room measurement; the time you spend measuring is. Pick the option that puts a known curve at the end of your sweep, load the file, and stop blaming the room for a peak that lives in your microphone.